
Loupedeck CT Long Term Review with photographer Edmond Terakopian
Photographer Edmond Terakopian recently spent 5 months with the Loupedeck CT. Here he talks us through his thoughts and top tips for getting the most out of it through the incredibly customisable design.
How does the CT help your workflow?
There are two main things the Loupedeck CT allows you to do; work with efficiency and work with much better control over the tools you use within your chosen applications. The added control comes with having tactile knobs (which have gentle clicks as they are turned) to turn when changing controls such as exposure, contrast, colour temperature and so on. You have so much more fine control on making either small tweaks or turning the knob at speed and making large changes to the onscreen slider. It helps you keep a flow, which is not only much more efficient but much less irksome and creatively rewarding, during long editing sessions. Creativity should flow, unhindered.
Why the CT?
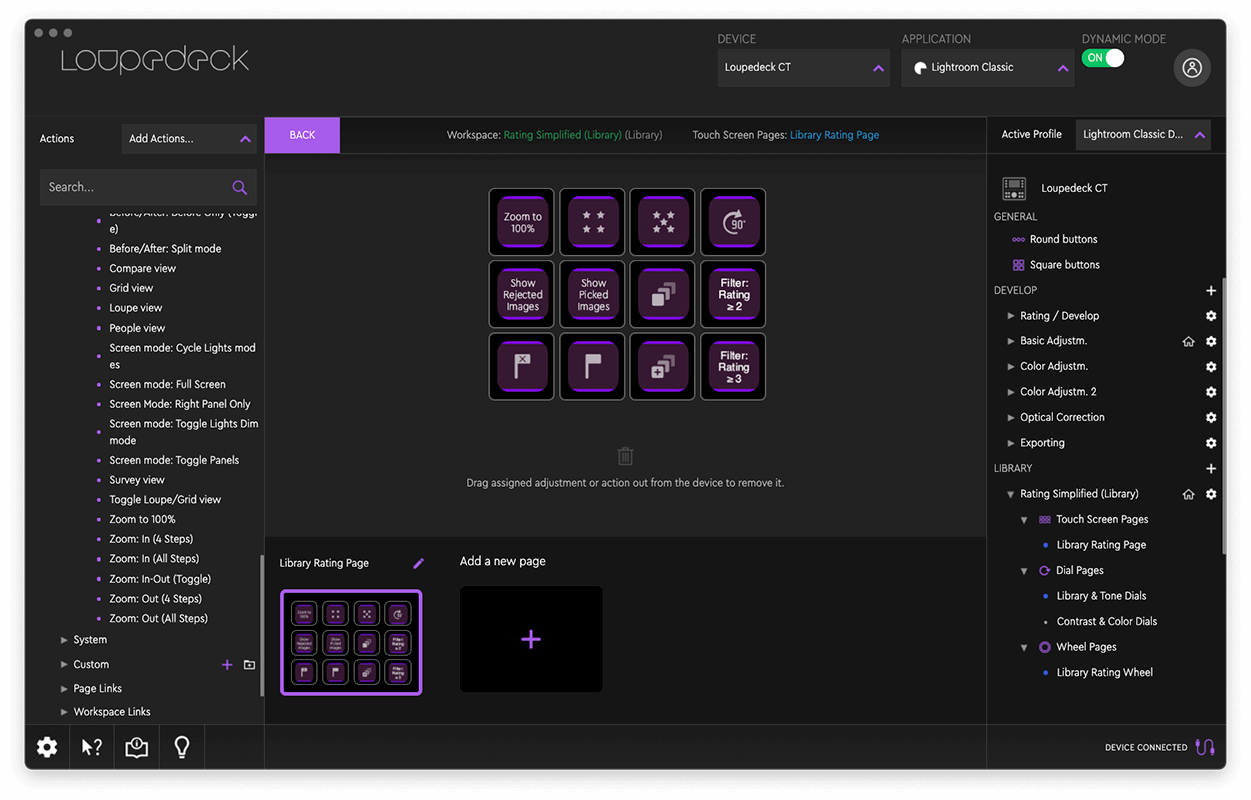
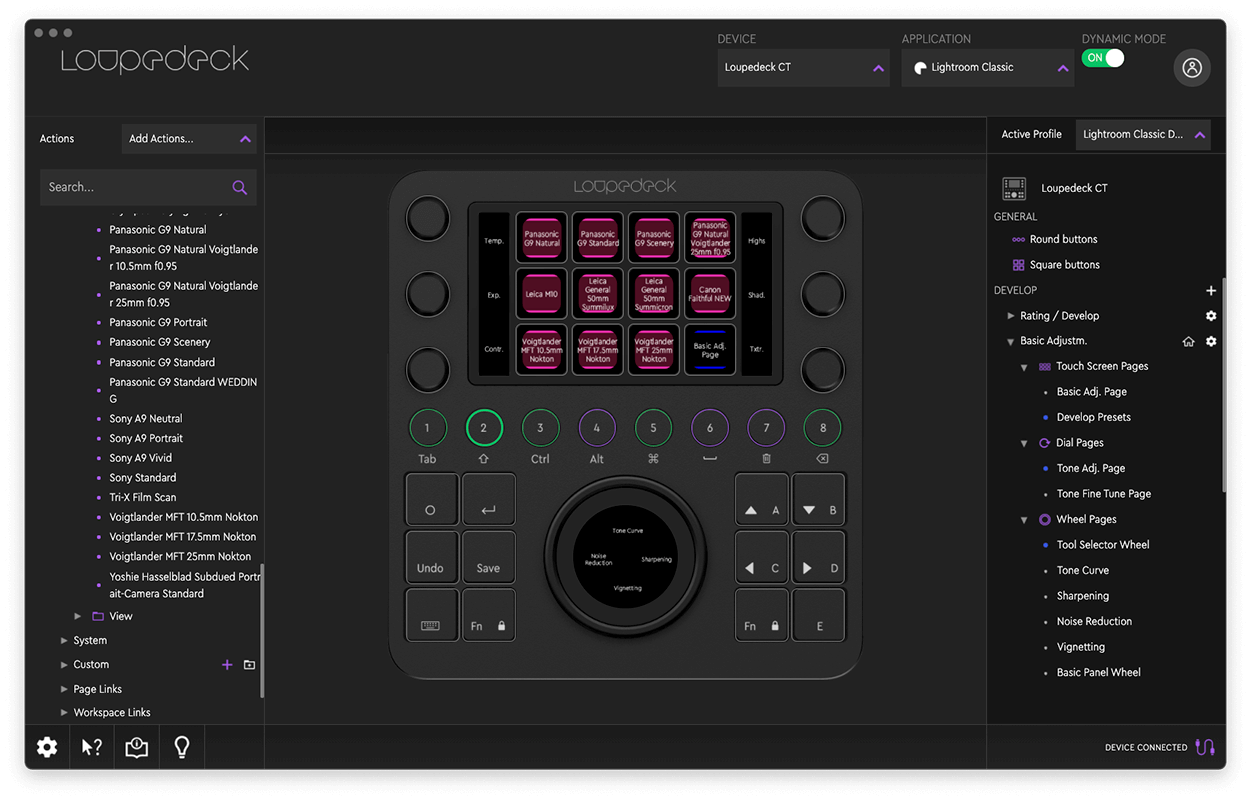
Whilst the Loupedeck+, which I’m still very fond of and do recommend, was primarily aimed at LightRoom users, the CT opens up many more applications, with the bonus of having customisable workspaces and pages of programmable keys with icons that show what they each do. No more printed or scribbled labels needed! Plus, having the added ability to have multiple pages, each touch key can take on multiple uses, so an ever-changing set of labels on the touch screen, is a tremendous help indeed.
I found that without really noticing, I’d transitioned from looking and hunting for a function I wanted, to just doing it. I’d liken it to learning to ride a bicycle or drive a car; suddenly everything just comes together and rather than thinking, you’re just doing.
How long does it take to get used to the CT?
The CT is as complex or as simple a product as you wish it to be. The Loupedeck CT software already comes with customisation for a variety of different photography, video, illustration applications as well as the OS itself. So, it’s good to go, straight out the box. Or, you can spend time with it and create your own customisation; from modifying the existing setup with the odd key here or there, to fully making up your own workspaces, buttons and so on, which if you want to do it properly, will take a little bit of time to design efficiently, so it suits you perfectly. The actual software is very user friendly and easy to customise.
What’s your best piece of advice for using the CT?
Live with the CT as is for a while. Use it extensively and get a feel for how the unit works. Soon, you will organically start to realise what’s missing for your own particular needs. We all have our way of working with the software we use. Our own individual quirks or specific workflow needs. It's this extra time spent, that’s time well spent, as it will not only get you used to the various touchscreen and hardware controls but will help you mentally map what you would like to customise and add, for your unique workflow needs.
Would you recommend it?
Based on how well my Loupedeck+ has performed over the last two years I’ve used it and based on the build quality of the CT, which feels much more substantial and solid than the Loupedeck+, I have no hesitation in thinking that the CT will be a good investment as a piece of professional-grade, daily use equipment, which will last many years. Working efficiently and without fuss. Our tools should never get in the way of our creativity, which must flow unhindered. The Loupedeck CT has done just that. Let me work without being aware of it.

This is a summary of Edmond’s blog post, to see the full post and learn more about his work please visit https://photothisandthat.co.uk/2021/04/18/loupedeck-ct-review/
26 Sep 2025
Lumens VC-TR60A PTZ Camera Earns Microsoft Teams Certification
16 Sep 2025
IBC 2025: The Gear, The Gadgets, and Everything That Got Us Excited
10 Sep 2025
BirdDog Cameras Now Ship with 2 Years of Free Midwich Protect Plus Cover
02 Sep 2025
From Courtrooms to Podcast Studios – How Epiphan Video Powers Public-Sector Capture and Creative Workflows


